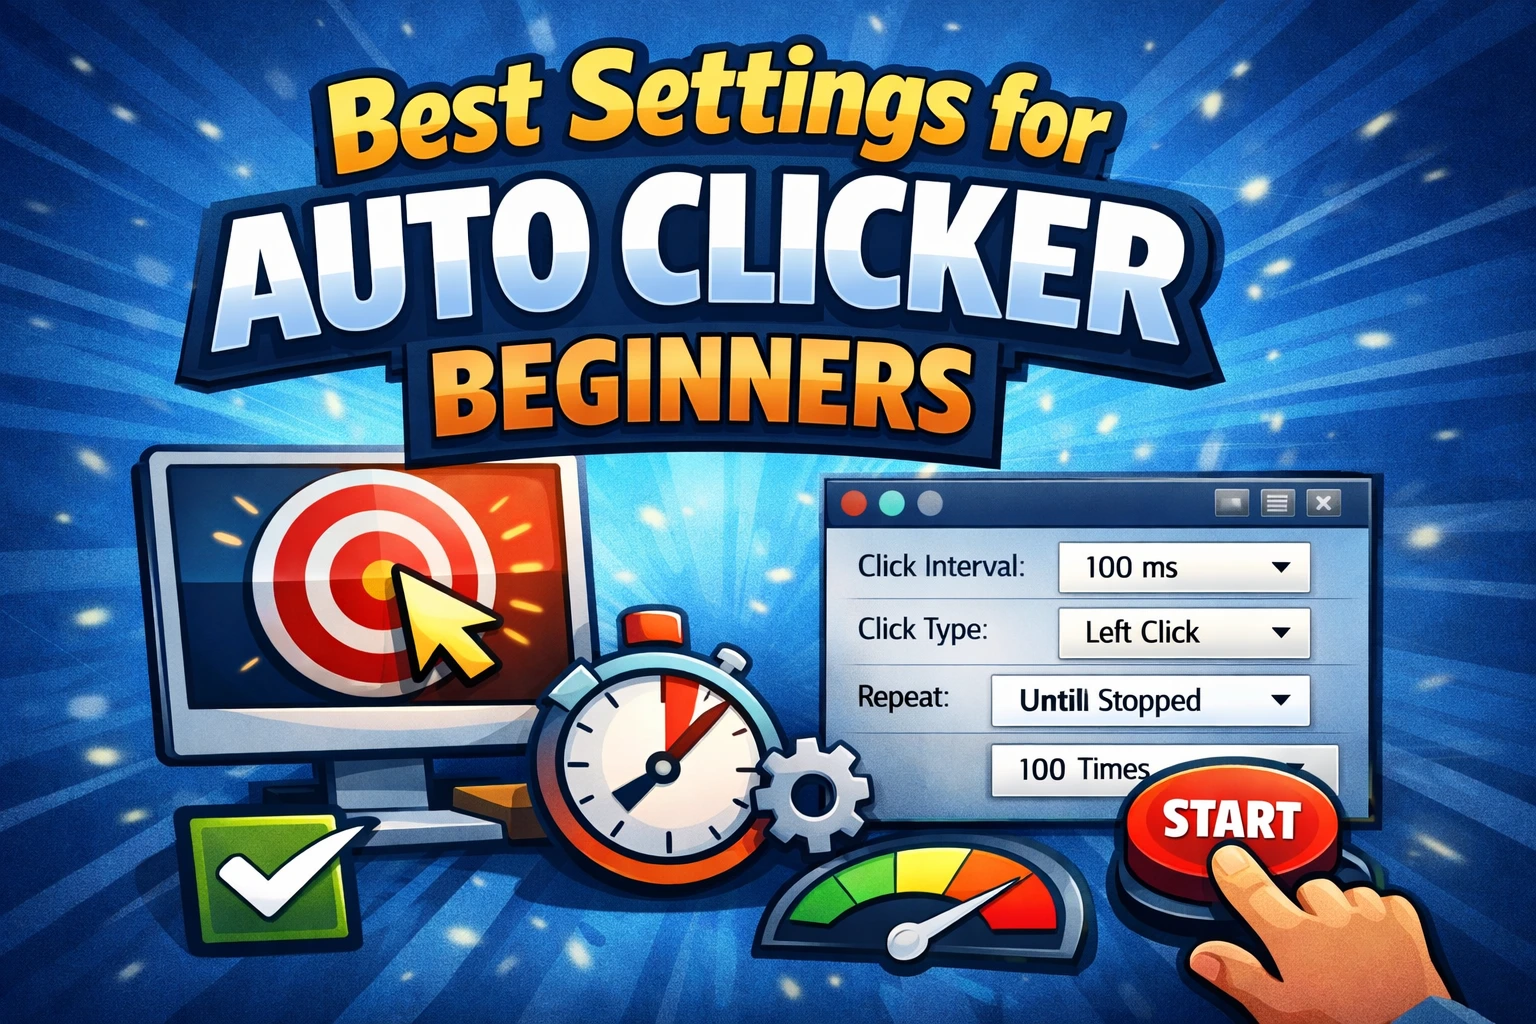
An auto clicker is simple to start, but small setup mistakes can turn a useful shortcut into an unreliable workflow. Most problems come from speed, positioning, repeat rules, or failing to plan for a screen that changes during the run.
Here are the nine mistakes we see most often and the safer habit for each one.
1. Setting the interval as low as possible
A 1 ms interval looks impressive, but the target application may not be able to process 1,000 clicks per second. It can ignore input, queue events, or become unresponsive.
Better approach: start at 500 ms, test, and reduce the interval gradually. Reliability matters more than the largest CPS number.
2. Starting with an infinite loop
Infinite repeat removes a natural stopping point. If a dialog opens, a window moves, or the target disappears, the clicker continues sending input somewhere else.
Better approach: use 10–50 repetitions during setup. Switch to a duration or infinite mode only after testing the stop hotkey.
3. Capturing the wrong click position
Screen coordinates are exact. A point that is only a few pixels away can hit a different button, especially in a compact interface.
Better approach: capture the center of a large, stable target. Avoid edges, overlapping controls, and elements that move after a click.
4. Forgetting about window movement and scaling
Moving a window, changing display resolution, or switching Windows display scaling can change where a saved coordinate lands. A script recorded on one monitor layout may not work on another.
Better approach: place the window in a repeatable position before every run. Re-capture points after changing monitors, scaling, or resolution.
5. Using one interval for every step
A multi-step workflow may include fast button clicks and slow loading screens. One aggressive interval can reach the next step before the interface is ready.
Better approach: record the complete mouse and keyboard sequence so timing is preserved, or add sufficient delays between stages.
6. Ignoring the emergency stop hotkey
Moving the pointer to find a Stop button is difficult while automation is controlling the screen.
Better approach: memorize and test the start/stop hotkey before every unfamiliar task. AT Auto Clicker uses F6 by default, and the shortcut can be changed in Settings.
7. Automating destructive actions
Clicks near Delete, Buy, Send, or Confirm can have consequences that are hard to reverse. A notification or window shift may place those controls under a saved point.
Better approach: remove destructive steps from unattended workflows. Use a manual confirmation for payments, messages, file deletion, and account changes.
8. Assuming automation is allowed everywhere
An auto clicker is a general Windows utility, but each game, platform, workplace, and website sets its own rules. Some allow accessibility or single-player automation; others ban all automated input.
Better approach: check the current rules before use. Our guide to auto clickers in games and ban risks explains how to evaluate the situation.
9. Downloading from an unofficial mirror
Search results and download sites can package unrelated installers, ads, or unwanted software around a legitimate tool name.
Better approach: download AT Auto Clicker from the official site, verify the file you received, and scan it with Windows Security. Read how to tell whether an auto clicker is safe for a complete checklist.
A pre-run checklist
Before starting a longer automation, confirm:
- The correct app window is open and positioned consistently.
- Every click point lands in the center of its intended target.
- The interval gives the interface time to react.
- The repeat count or duration has a clear end.
- The stop hotkey works.
- No irreversible action is inside the automated path.
- The target app permits automation.
Once these checks pass, save the configuration and label it with the task and date. A small amount of preparation makes repeated runs much more predictable.