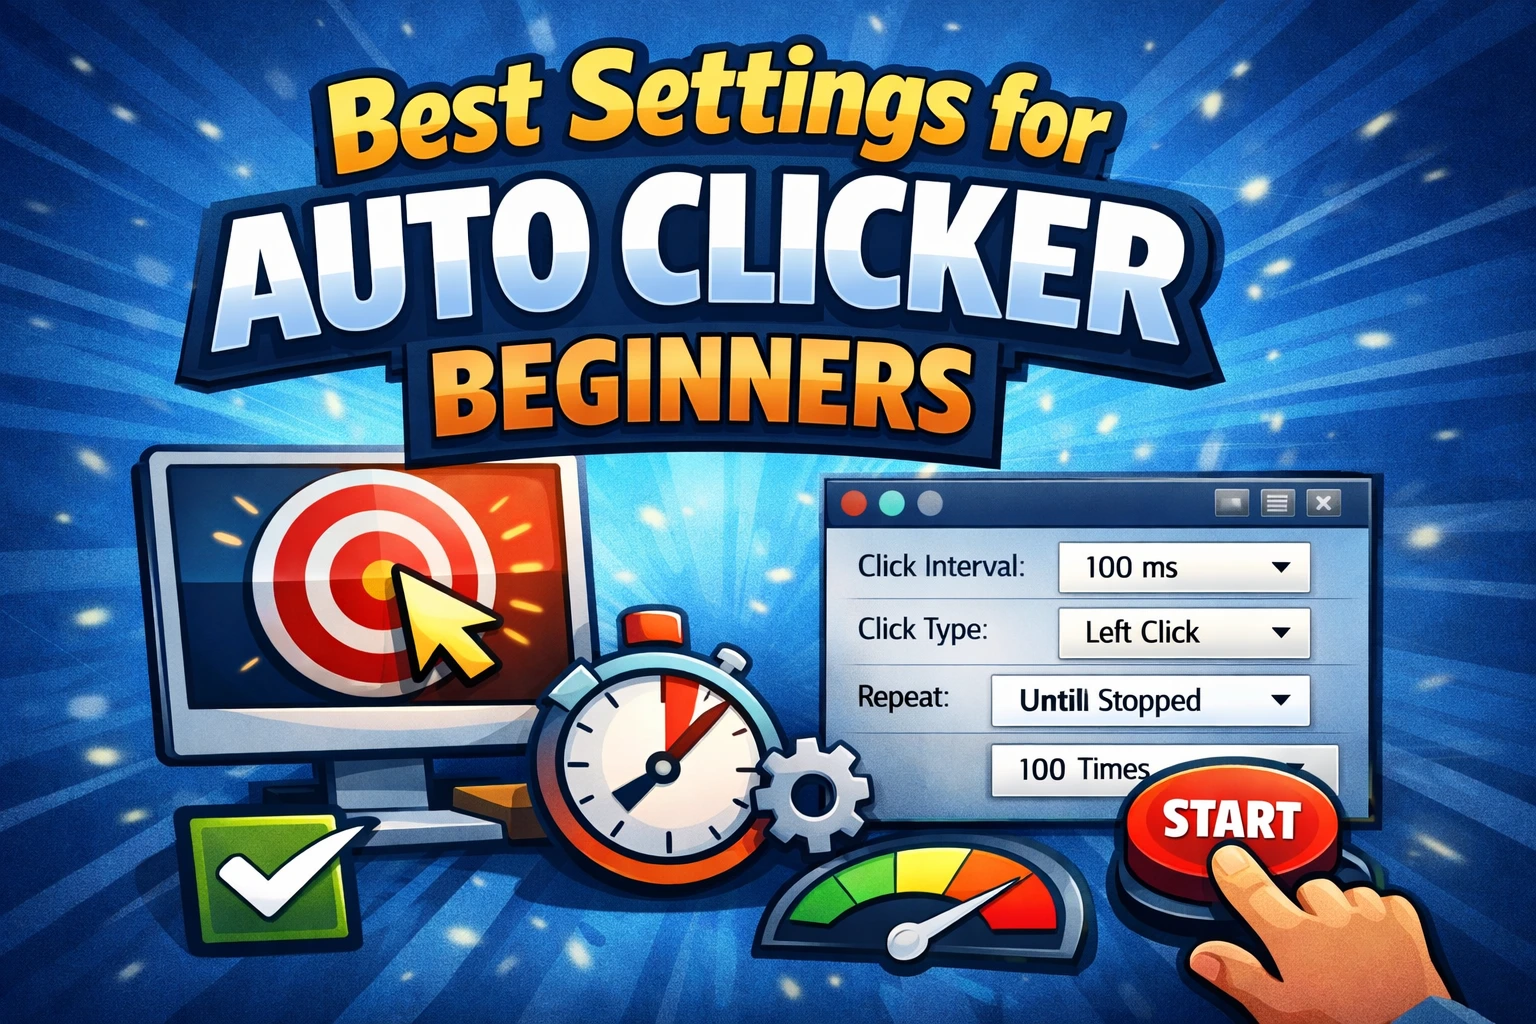
A simple auto clicker needs only five decisions: mouse button, click type, interval, location, and stop rule. Everything else can wait. Starting with a small, visible test makes the setup easier to understand and much easier to stop.
The free AutoClicker is designed as a compact Windows control panel. It runs locally, does not require an account, and keeps saved settings and macros on your computer.
The five-minute auto clicker setup
1. Choose left single click
Left click is the normal action for buttons and links. Keep Single selected unless the target normally requires a manual double click.
2. Set a 500 ms interval
Five hundred milliseconds equals two clicks per second. It is slow enough to observe and fast enough to confirm that automation is working.
3. Use the current cursor position
Current-cursor mode lets you point at the target manually before starting. It avoids saving a coordinate while you are still learning the controls.
4. Limit the run to 10 clicks
A fixed count gives the first run a predictable endpoint. Do not begin with continuous repeat.
5. Test start and stop
Aim at a harmless target, start the run, and stop it before all 10 clicks finish. If the stop hotkey works while the target is active, repeat the test and let it complete.
You can download AutoClicker for Windows and use the free edition without creating an account.
What each basic setting does
| Setting | Recommended first value | Why |
|---|---|---|
| Mouse button | Left | Matches most normal controls |
| Click type | Single | Avoids duplicate activation |
| Interval | 500 ms | Easy to observe |
| Position | Current cursor | Easy manual aiming |
| Repeat | 10 clicks | Predictable endpoint |
| Hotkey | Easy to reach | Fast manual control |
Once this works, save the profile with a descriptive name. Change only one setting at a time so you know which change caused a different result.
When to use a fixed point
Use a fixed point when the target always appears in the same place and the window will not move during the run. Place the window first, keep display scaling and browser zoom unchanged, then capture the center of the control.
For several stable controls, use multiple points and verify the order. If the interface changes between steps, a macro with recorded delays may fit better than a fast point sequence.
Read cursor position vs fixed location before saving a coordinate-heavy setup.
When simple clicking is not enough
Move from the basic timer to another tool when the task changes:
- use multiple points for a stable visual sequence;
- use a mouse and keyboard macro when typing or navigation is involved;
- use AutoClicker Pro tasks when a saved macro must start at a specified date and time;
- use a supported import, shortcut, or API when it can remove the repeated work entirely.
AutoClicker Pro keeps the timer, macro library, scheduled tasks, cursor highlight, and CPS tool in one workspace. The free edition remains the better choice when you want the smallest interface and straightforward local automation.
Simple does not mean uncontrolled
Before every run, confirm the target, stop key, and endpoint. Avoid unattended clicking on payments, messages, deletes, account actions, or any interface that may change unexpectedly. Check the rules before using automation in a game or online service.
Frequently asked questions
What is the easiest auto clicker setting?
Left single click, 500 ms, current cursor, and 10 repetitions is a clear first test.
Do I need an account?
No. The free AutoClicker runs locally without an account. Pro membership is relevant only to paid Pro execution features.
Can a simple auto clicker record keyboard input?
Yes, the free app also includes macro recording. Use the Timer page for one repeated mouse action and Macro when the workflow includes keyboard events.